Welcome to the second week of our 30-Day Flexibility Challenge!
Each week throughout this challenge we’ll be focusing on making our bodies more mobile and flexible, so that we can move better and stay pain-free. It’s important to maintain good flexibility and mobility to keep getting stronger and healthier!
We’ll have a different focus each week of the challenge. During the second week, we’ll be foam rolling. If you missed the first week of the challenge, check it out here.
Why Foam Rolling Rocks
Foam rolling has similar effects to a massage, but rather than shelling out $100 or more each session you’ll pay $20-30 for it just once—and you can use any time you want. Foam rolling has so many awesome benefits: it helps to increase blood flow to your muscles as well as reduce muscle soreness and tightness—and by doing so, can prevent injuries. Plus, it feels great!
If you don’t have a foam roller yet (or don’t belong to a gym with one), they’re a great tool to have around the house. These ones are some of our favorites.
You don’t need to foam roll every day, but even just a few days per week will make a huge difference in your flexibility and mobility. Unlike passive stretching, you can foam roll before or after your workout, first thing in the morning to get your body moving, or even the last thing in the evening while you’re watching TV or reading to roll out your muscles before the next day.
Week 2 Foam Rolling Routine
Complete 1-2 rounds any time of the day—first thing in the morning, before or after your workout, or in the evening to relax and recover.
Spend 30-45 seconds rolling out your:
- Calves & Hamstrings
- Lats
- Quads
- Upper Back
- Glutes
- IT Band
Calves & Hamstrings
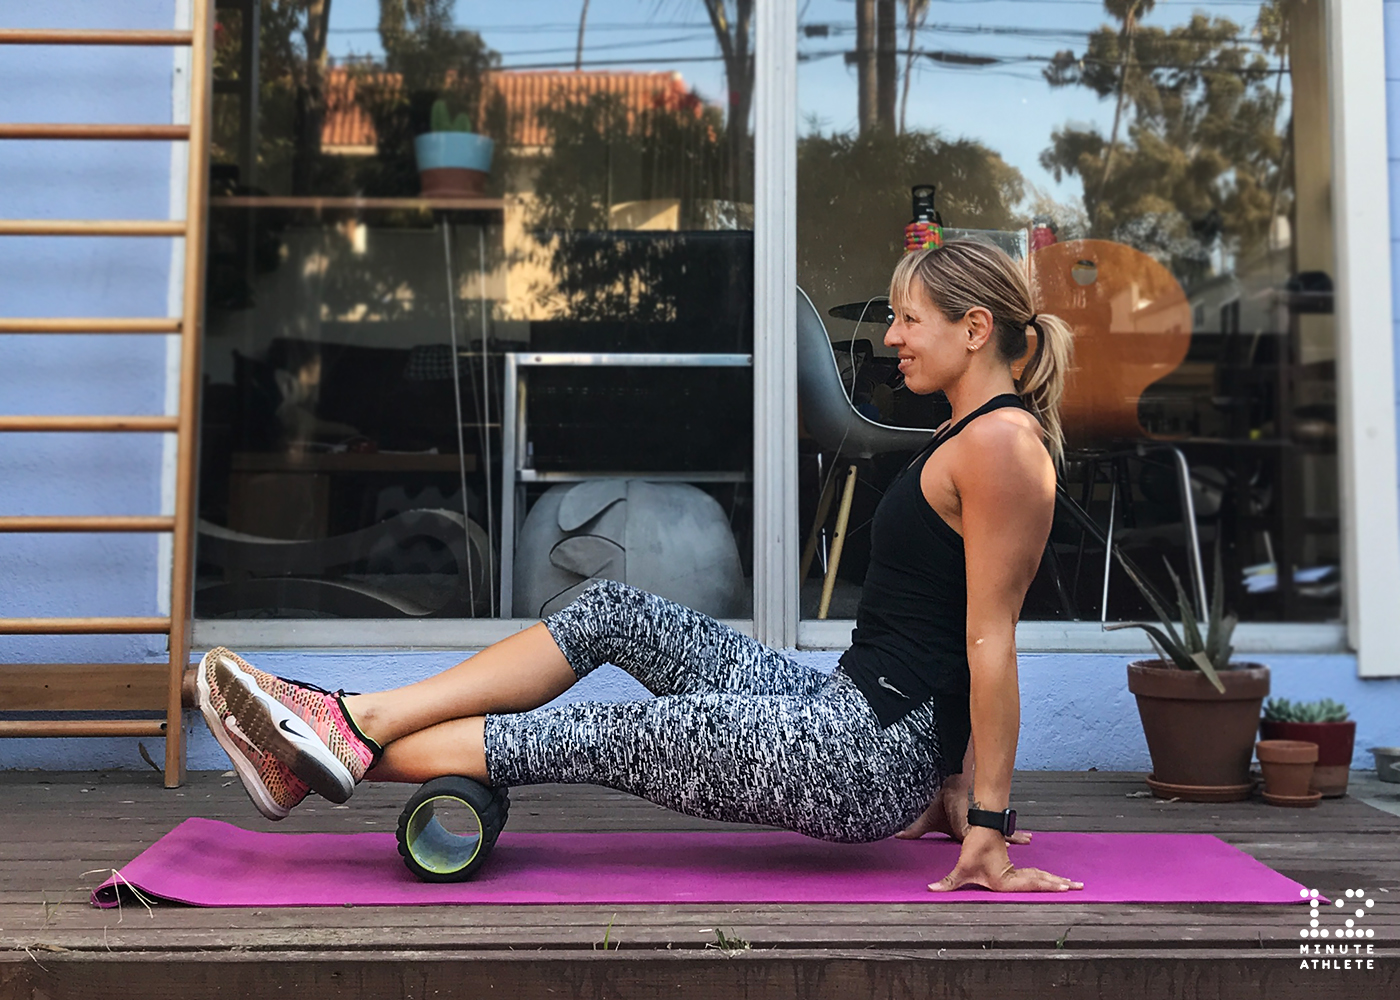
How to do it: Sit down on the floor with the roller under your calves. Cross your legs so that most of your weight is on one leg. Slowly move the foam roller from your ankles up to the back of your knees, pausing on any sore spots that you may find and breathing into them.
If your calves are super tight, you can uncross your legs and roll both calves at once.
Once you’ve rolled your calves, move on to your hamstrings by moving the roller with small back and forth movements from the back of your knees up to your glutes and then back down again.
Lats

Your lats are the largest muscles in your upper body and will typically get sore if you practice pull up variations a lot (as you should!). Foam rolling them can keep your lats from getting overly tight and causing mid pack pain or mobility issues.
How to do it: Lie on your side on the floor with the foam roller under your armpit. Extend your arm away from your body above your head. Slowly roll back and forth until you find a sore spot, then stay there for a while until the tension starts to release. Don’t forget to breathe!
Quads
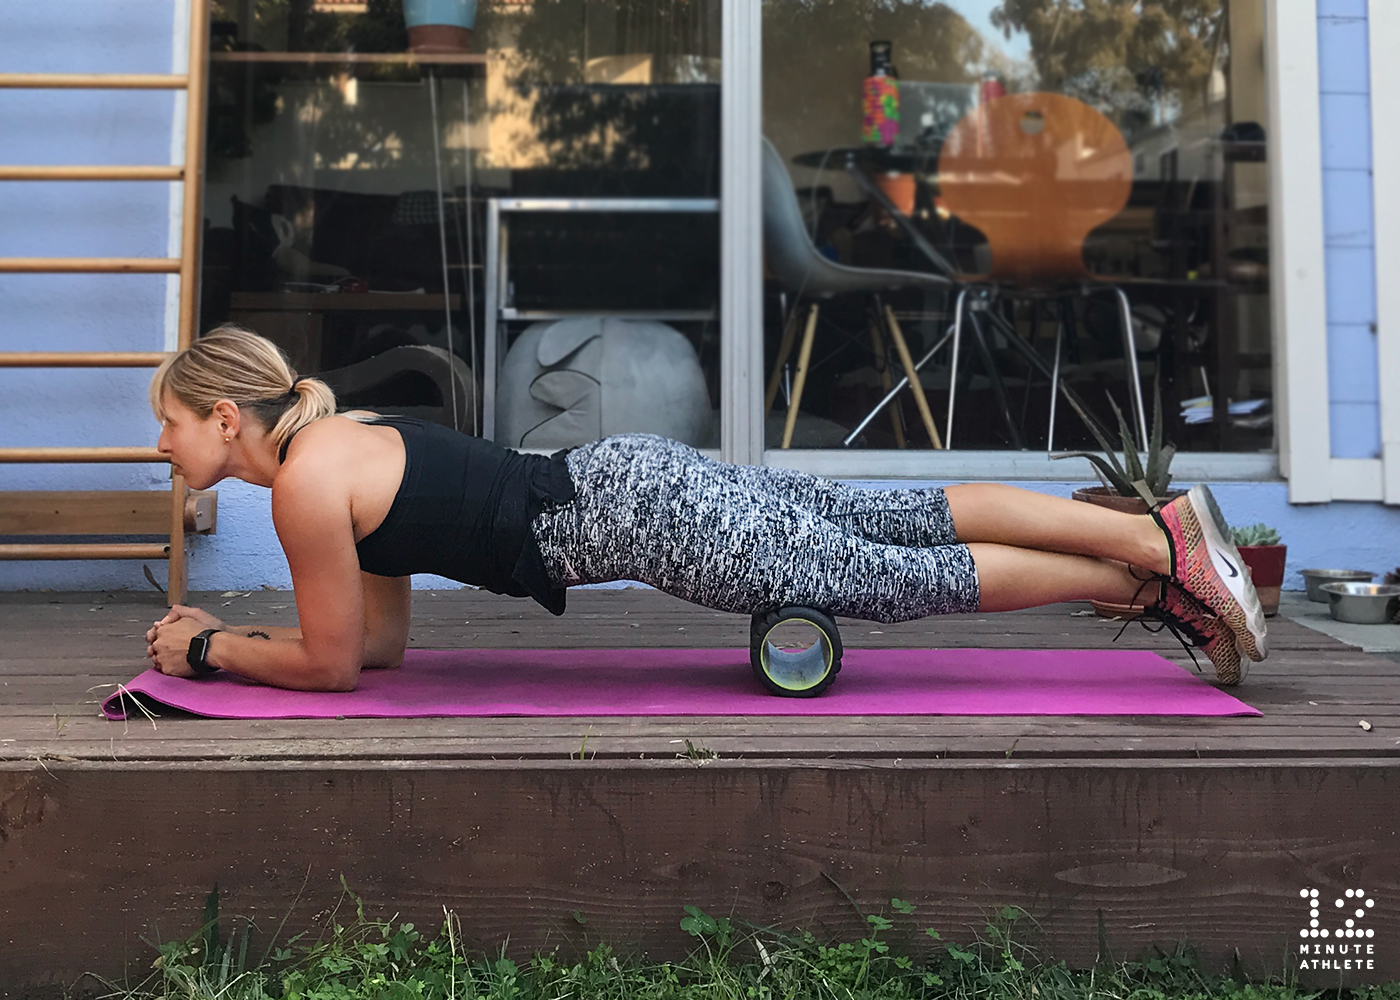
Warning: If you’ve been doing a lot of any leg exercise, from regular squats to squat jumps to pistols, be ready because foam rolling this area is probably going to hurt quite a bit.
How to do it: Lie on your stomach with the foam roller under your thighs. Roll back and forth on the front of your thighs, pausing on any tender spots.
If you feel you could use some extra strong massage, cross your legs so that the pressure is mostly on one leg.
Upper Back
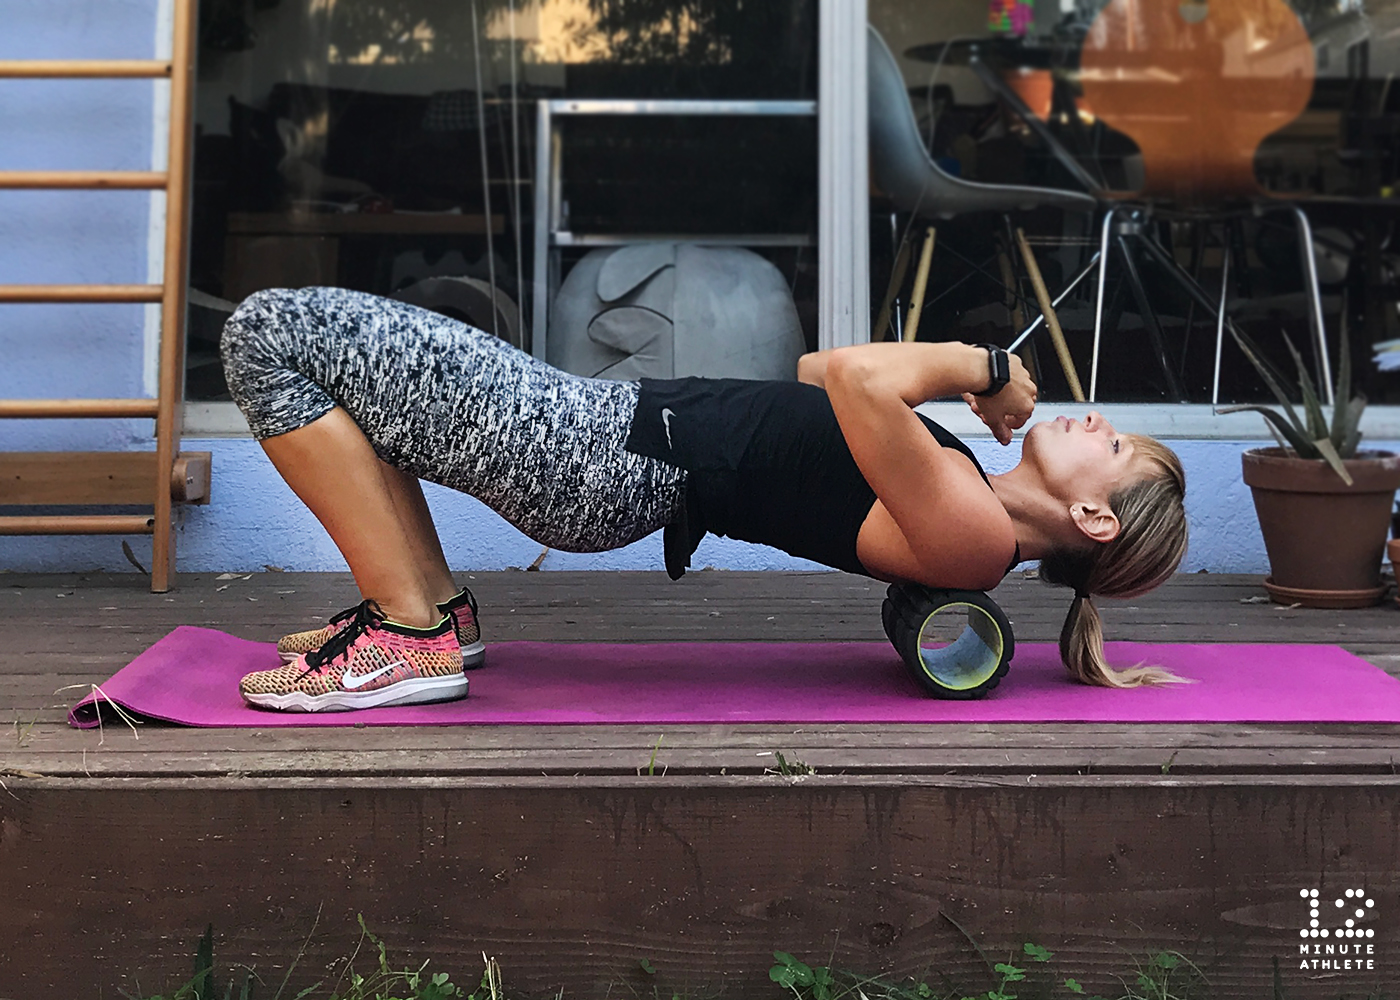
This one feels extra great to most people, but don’t be surprised if you hear a few cracks while you do it!
How to do it: Start lying on your back with your knees bent and the foam roller under your shoulder blades. Raise your hips off the ground and roll from your upper to mid back, pausing when needed. You can also try moving slightly from side to side to find different angles that might need some extra attention.
Glutes
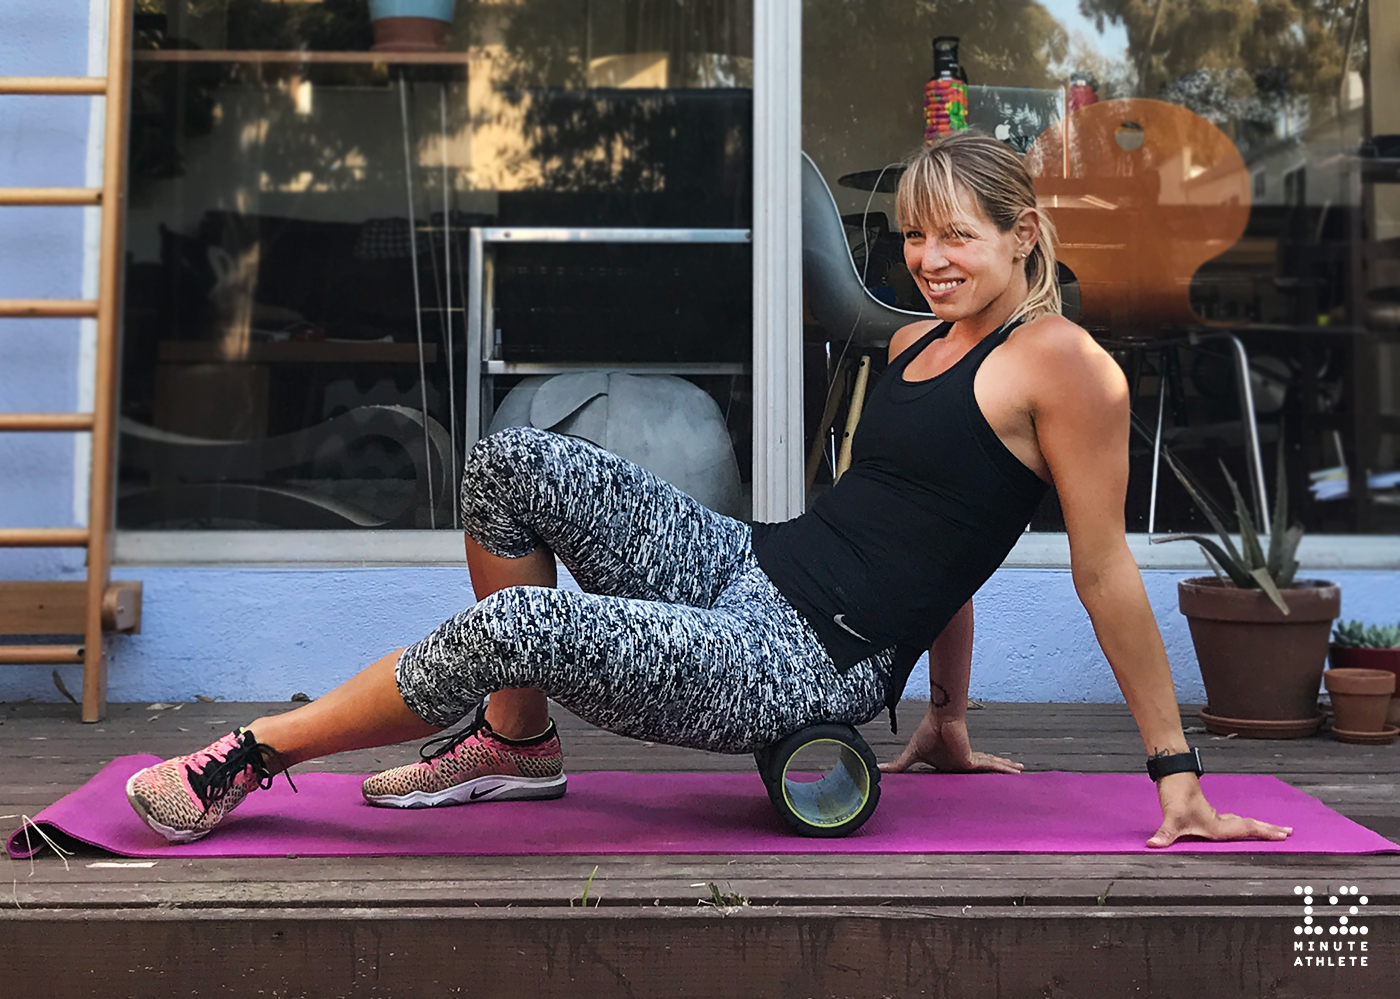
How to do it: Sit on the foam roller, lean slightly to the side you are targeting, and gently roll around the muscle.
You can also try this: sit on the foam roller, bend your legs so that the feet are on the floor, then place your one ankle on the other thigh to add some extra pressure to your glutes.
As always, pay attention to tight spots and spend a little more time rolling out those areas.
IT band
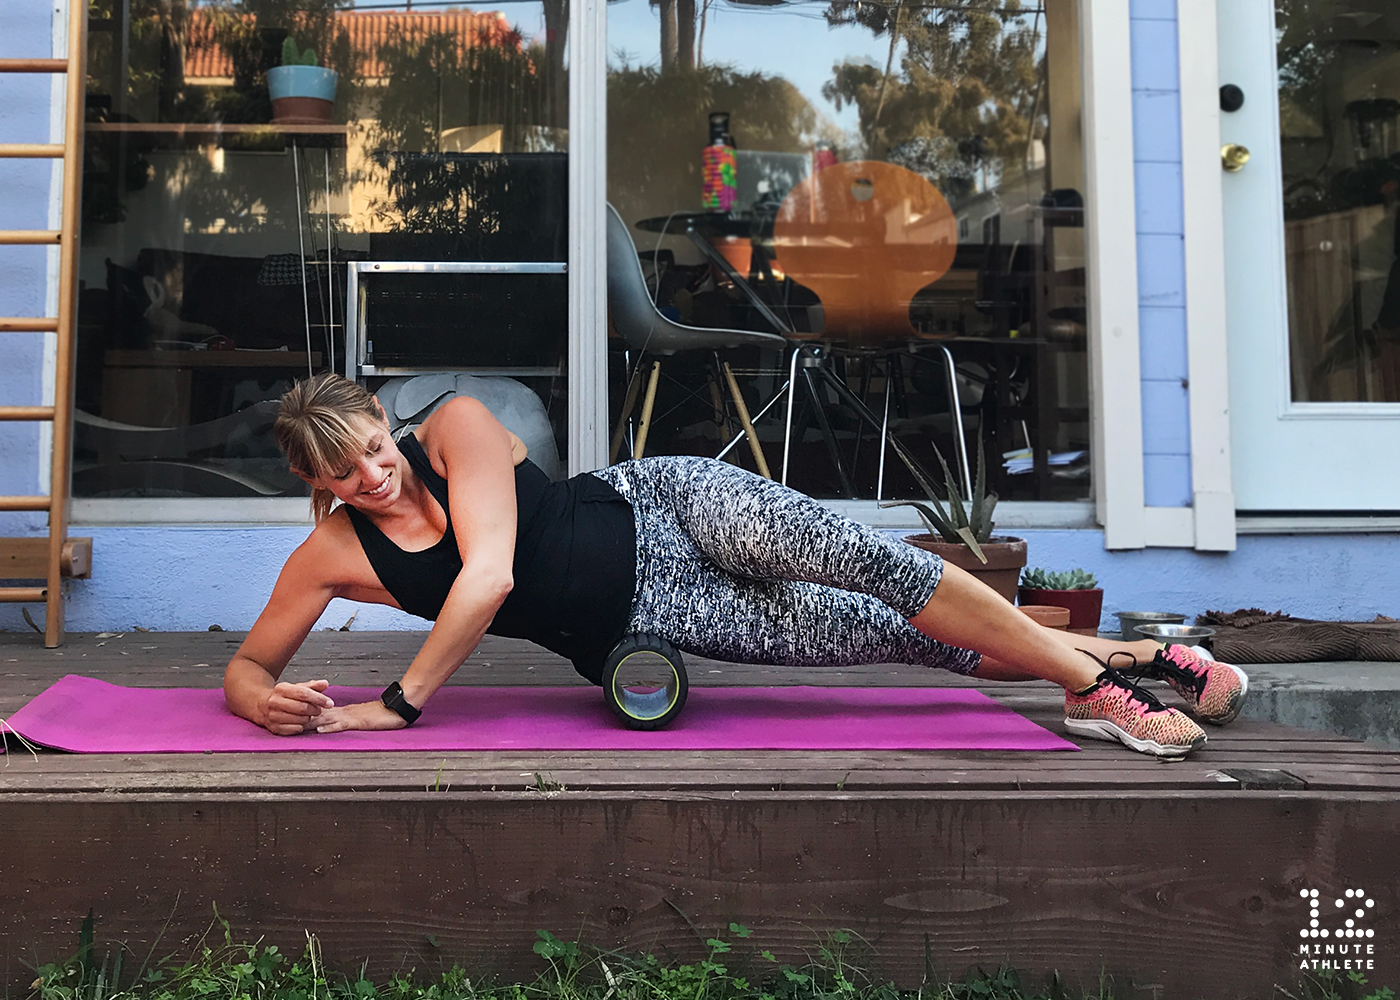
The IT band is another area that can be very tender when you try to roll it, but try to do it anyway—it’s worth it.
How to do it: Lie on the roller sideways so that it’s just below your hip, and keep your legs straight. Slowly move the roller back and forth all the way down to just above your knee. If this is too painful, you can take some pressure off your leg by bending the top leg and putting it down in front of or behind the leg you’re rolling.