Want to improve your performance, flexibility, and reduce injuries?
Then it’s probably time you gave foam rolling a shot.
Because while it’s necessary to work out hard, it’s equally as important to make sure your body gets the recovery it needs. And stretching (including yoga!) just isn’t enough.
So whether you’re a hardcore athlete, or squeeze in a workout two or three times a week to keep the pounds off, a foam roll is a magical device that will make you wonder how you ever lived without one.
Read on for more on why foam rolling rocks:
Benefits of Foam Rolling
There are tons of reasons to love foam rolling. Here are the main ones:
Foam rolling prevents injuries. When you work out hard, your muscles end up tight and develop knots from constant stress. And unless you want to pony up the cash to get a full body massage once or twice a week, your best bet for staying injury-free is to foam roll on a near daily basis.
Foam rolling works by massaging away fascia buildup in your muscles, preventing those areas from becoming injury trigger points. And boy, does it work.
In fact, when I go a little too long without foam rolling, my upper back tends to get so tight I’ve actually had a rib pop out a few times—not fun. The moral of the story is that foam rolling will keep your muscles happy, so do it as often as possible.
Foam rolling helps you de-stress. Foam rolling away the knots can help you de-stress at the end of a tough day—just like a deep massage would do. That’s because when you release your knots and sore spots, the tension built up in your connective tissue releases and leaves you feeling less stressed and more relaxed.
Foam rolling increases your flexibility. We all know how important it is to stay flexible, and foam rolling can help with that too. Keeping flexible throughout your life reduces injuries, improves your performance and keeps you strong and healthy into old age.
So how do you do it?
You’ll first want to get a foam roller. They’re all around $20, so they won’t break the bank. I use a GoFit foam roll (aff. link), but there are several good brands out there that you can get for cheap online or in your local sporting goods store.
For all foam rolling exercises, your goal will be to roll back and forth for 30 seconds to a minute. Anytime you find a sore spot (you’ll know it when you do), you should try and stay there for around 15 to 30 seconds in order for the tissue to have time to release.
If this is your first time foam rolling, you may find it painful—even excruciating—when you first start out. Keep with it for a few weeks and the pain will reduce, I promise.
And if you’ve never tried it before, foam rolling may look a bit strange—but it’s worth it for all of the benefits I mentioned above!
Foam Roll Exercises You Can do at Home
You should aim to foam roll for 10-15 minutes around three to four days a week—more if you do HIIT on a daily basis. But even just one session a week will help keep the injuries away.
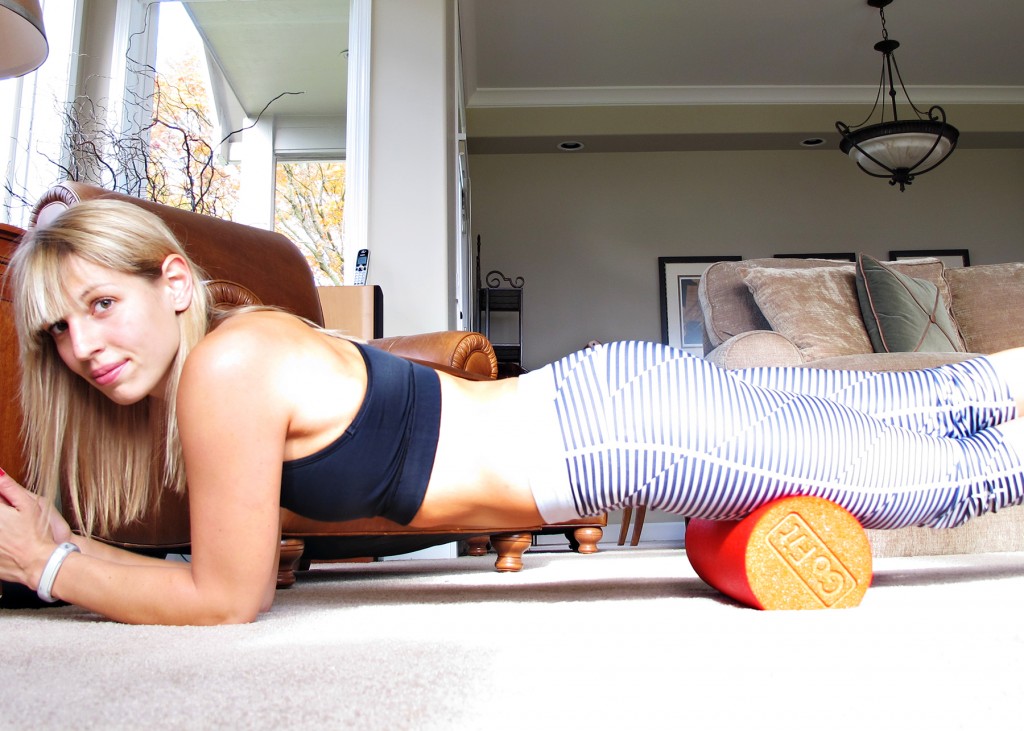
Quads (front of thighs): Lie on your stomach with the foam roller under your thighs. Using your forearms to prop yourself up, roll back and forth on the front of your thighs (also known as your quads), spending extra time on any knots.
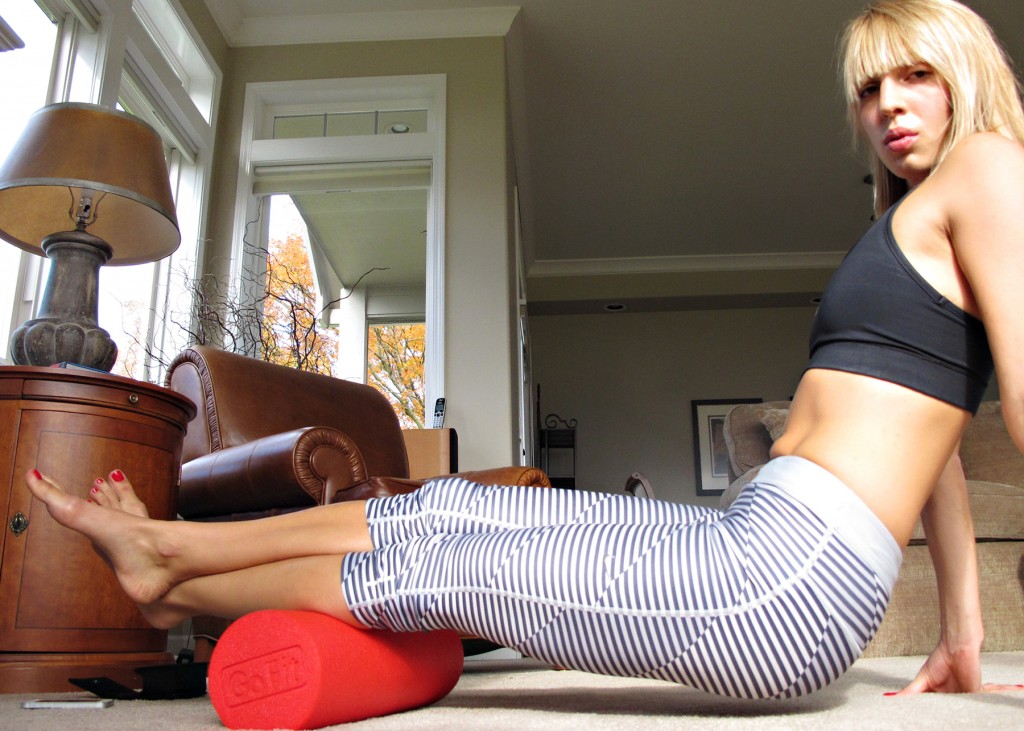
Calves & hamstrings (back of thighs): Sit in a seated position with the roller under your calves. Cross your legs so that most of your weight is on one leg. Roll from your ankles to your knees, focusing on any sore spots. Switch sides. To roll out your hamstrings, roll from your knees to your glutes (a.k.a. your butt).
Glutes: Sit on one side, find a sensitive spot and put as much weight as you can on the roller. Switch to the other side and repeat.
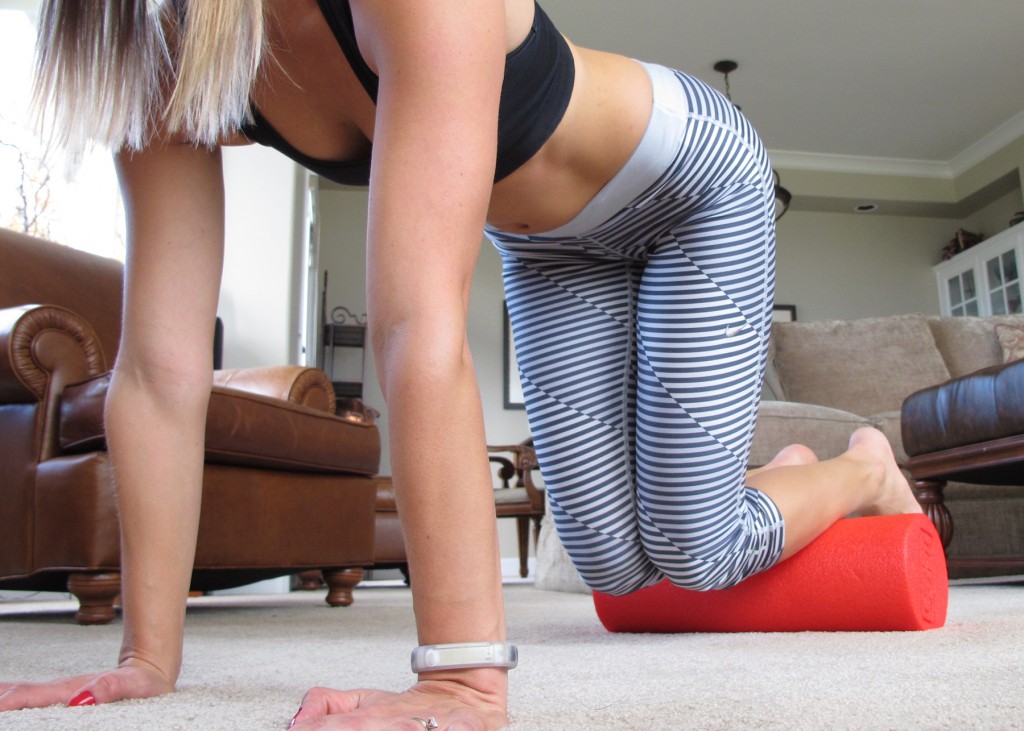
Front of shins: Get on your hands and knees with the foam roller under the front of your shins. Roll back and forth on the roller, keeping as much weight as possible on the roller.
Adductor (inside of thighs): Lie mostly flat and place the roll under your thigh. Roll back and forth until you find a sore spot and hold.
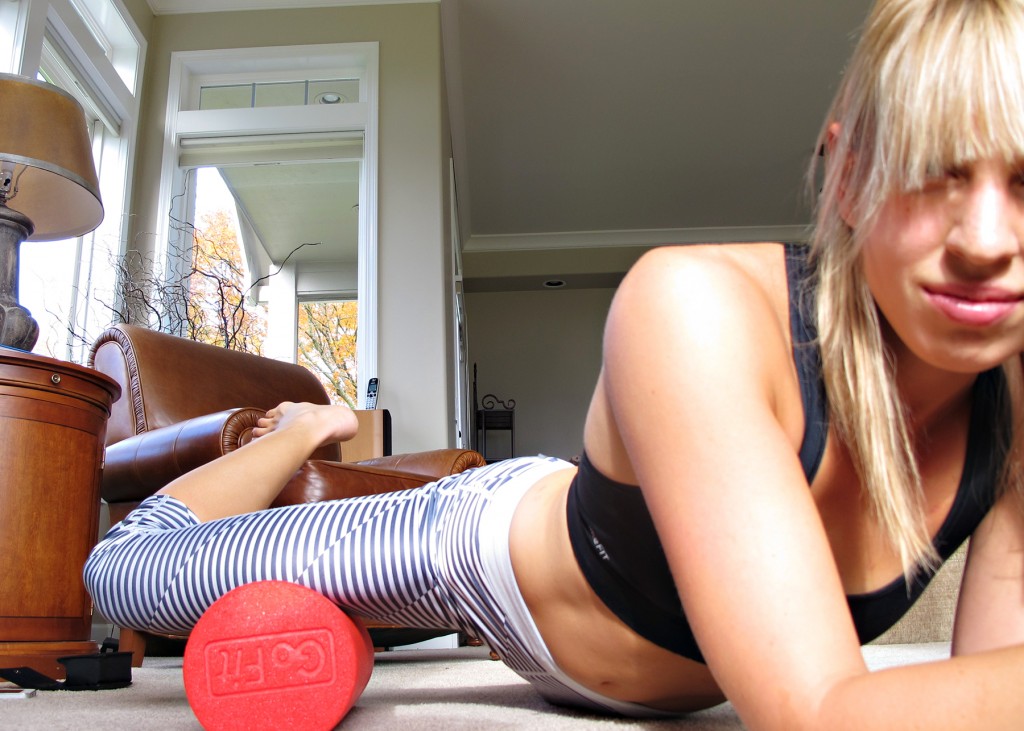
IT band (outside of thighs): Lie on your side with the foam roller under your outer thigh. Roll between the knee and the hip flexor, pausing on any sore spots.
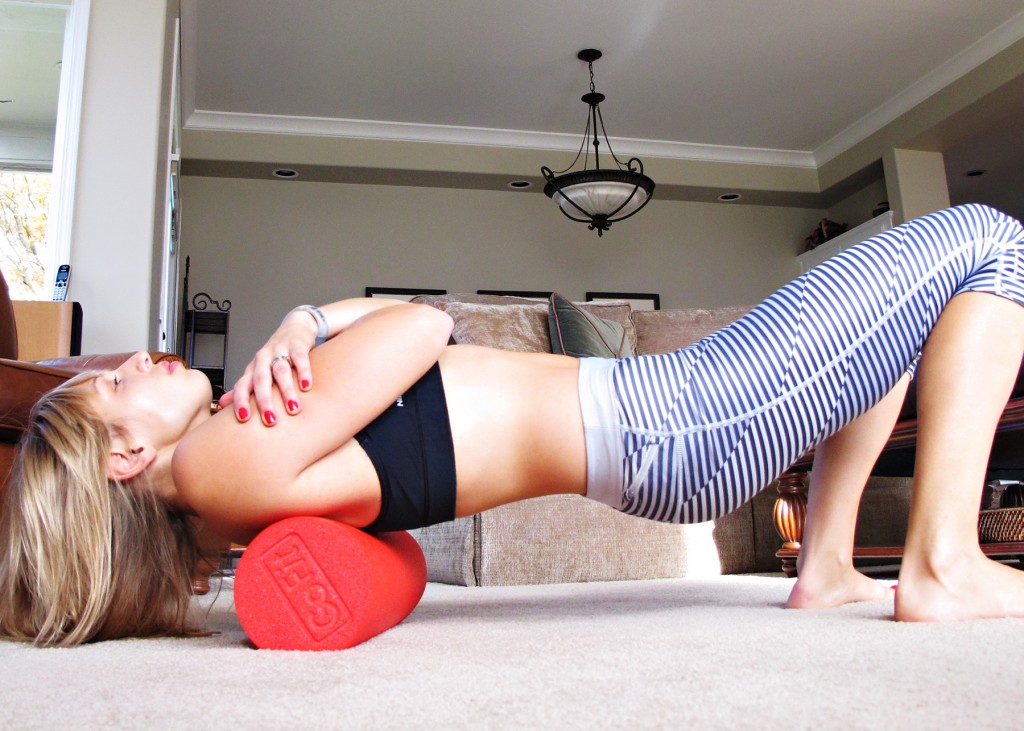
Upper back: Lie on your back with your knees bent and the foam roller under your upper back. Raise your hips off the ground and roll from your upper to mid back, pausing when needed.
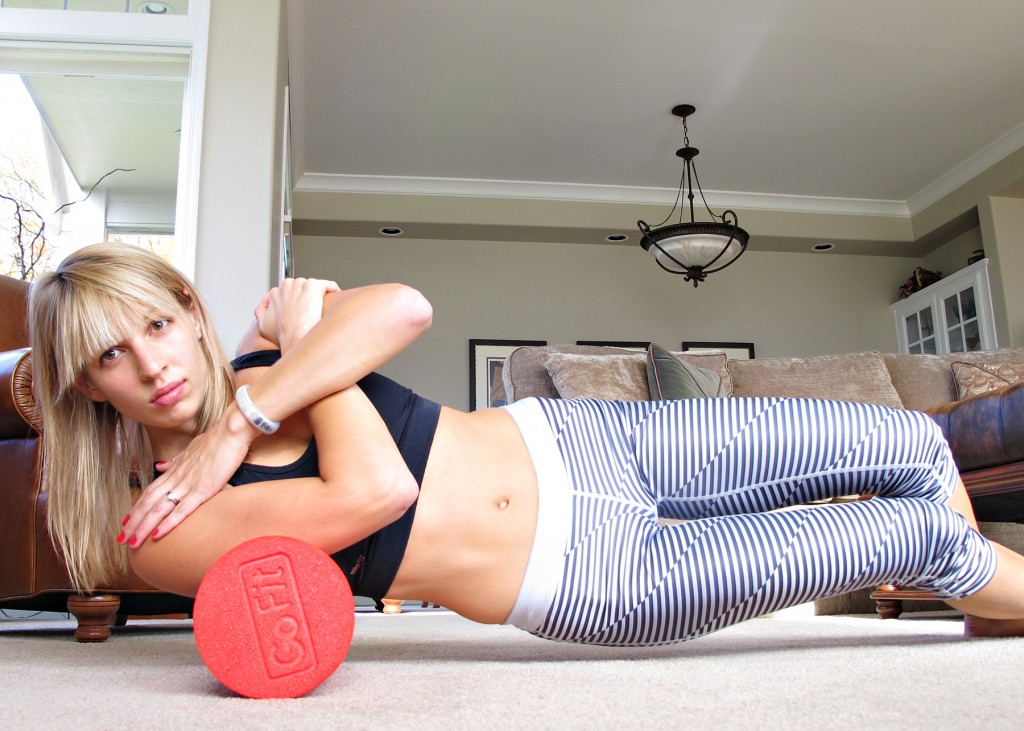
Lats: Lie on your side with the foam roller under your armpit. Move forward and back to roll out the lats. If you’ve been doing your push ups lately, this one may hurt!
For more foam rolling and mobility routines you can do at home, check out my routines in the Move Well app.
Happy foam rolling!

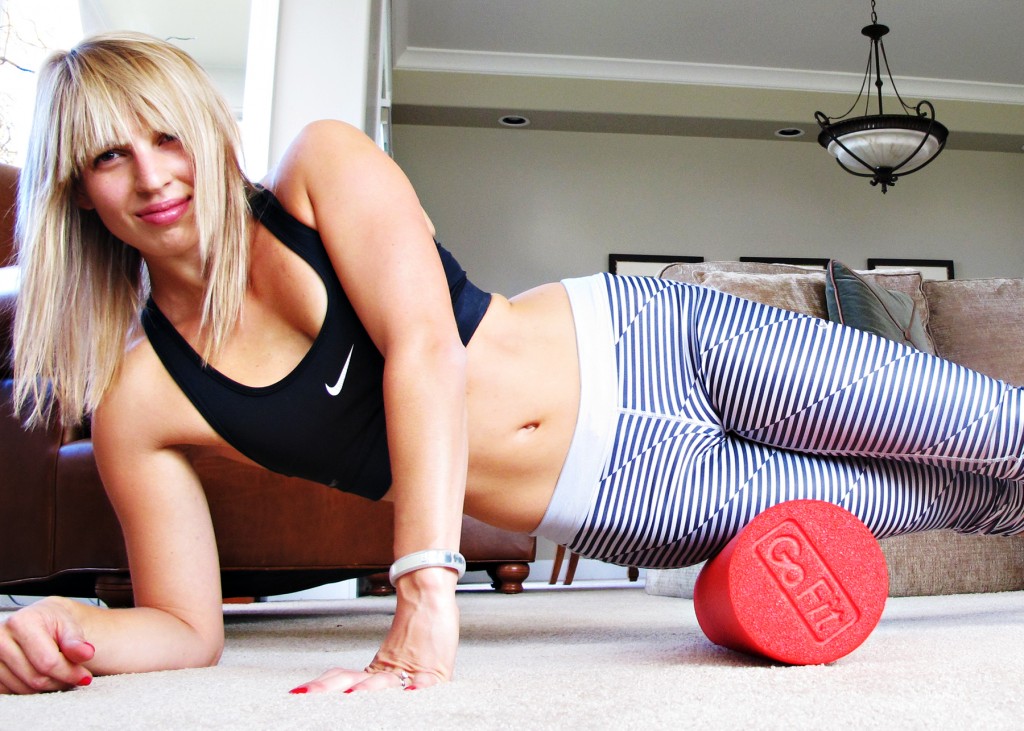
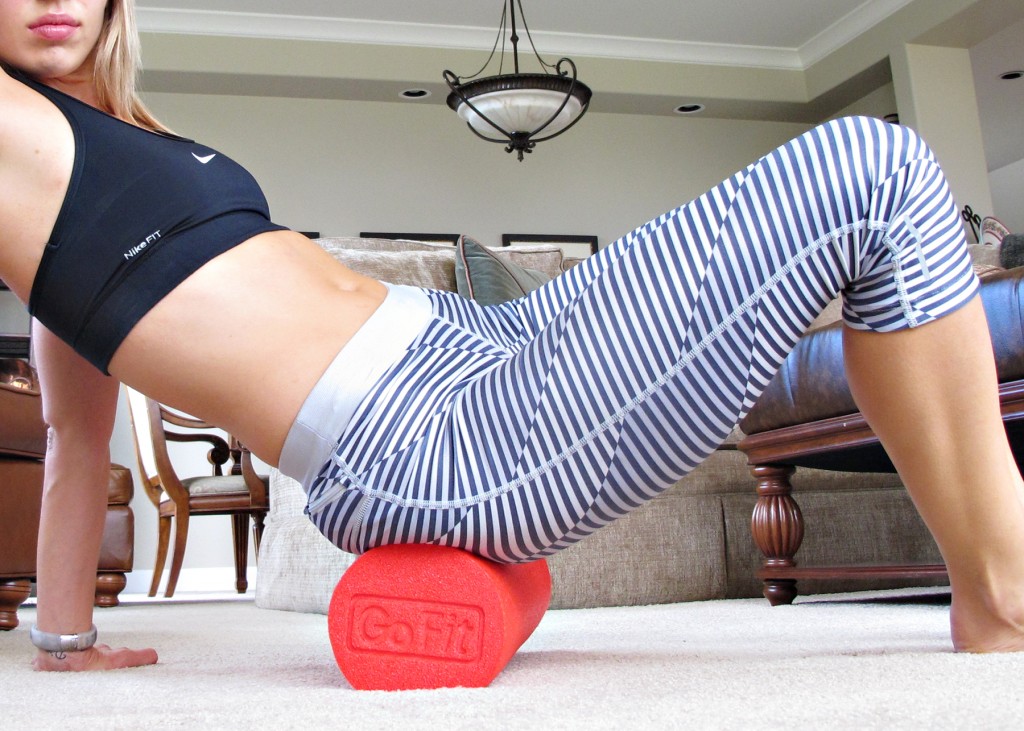
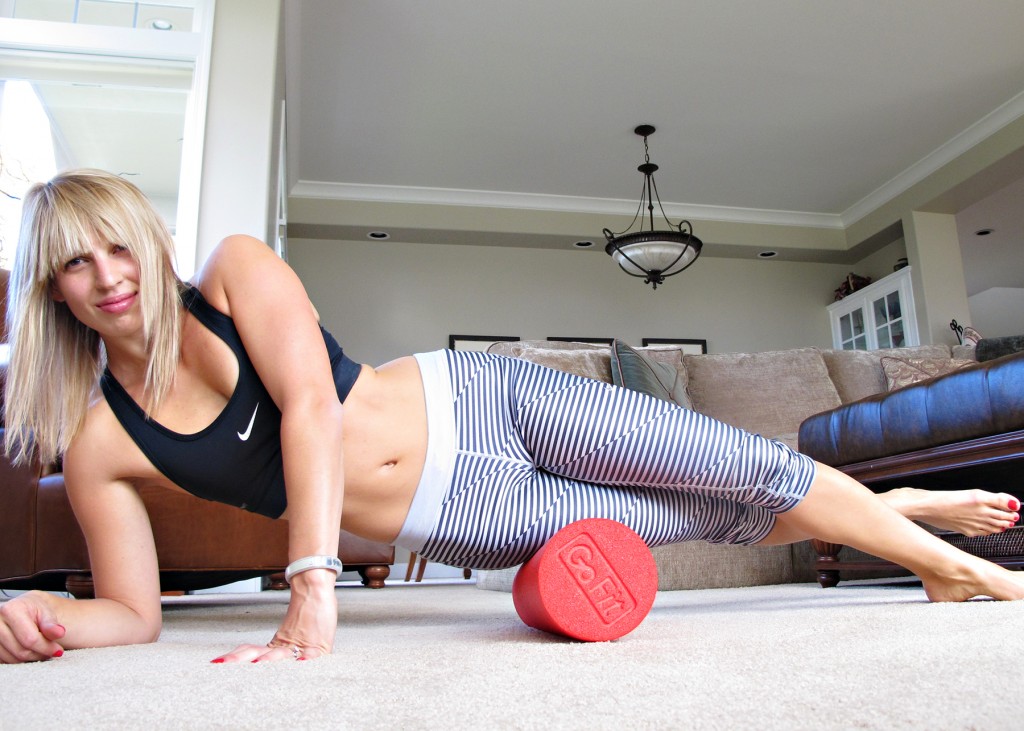
I love the expression on the IT band picture. I know how much that hurts 🙂
haha. Yes it does! But it’s so, so good for you 🙂
foam roller has helped neutralize my hip flexor injury 85%. after chiropractor, tens unit, heat & ice, this new gizmo gets my vote. it’s pro active use will keep this from happening again. no joke!!!
Is that a Fitbit Flex or Force? Could we get a real-world review of it from you?
I prefer a hand held muscle roller so i can bring it with me to the gym, i got a great deal on a golf ball muscle roller which i absolutely love!!
http://zzathletics.com/Golf-Ball-Muscle-Roller-Massager-GBMR1.htm
How do you roll your arms? I’ve been trying to figure out a good way to get it done.
It’s a little tricky, for sure 🙂 Try using a lacrosse ball or a tennis ball and rolling out the sore spots that way! Using a smaller foam roller can work too but can also be fairly awkward.
Not bad at all, came here through your shin splints link, best tutorial I’ve found
Foam rollers are great!!
Best bit of recovery gear there is – had a bad back for years, roller is so good for getting that bit of mobility back. Rolling on my back is the best, stretch and and feel those vertabrae loosen as you go – can even do sore arm/triceps with it – with matched facial expressions!!
I gave a friend this great article above and instant convert!!
Got one a month ago , it rocks!!! Thanks for all the tips.
Is there a “better” or “best” roller? There are different sizes, some have a hard core, and some have differing surfaces.
I found this post on Pinterest and this is really great tutorial I’ve found.
Thanks !
Hi Krista,
I’ve been told by Osteo that using a foam roller on the IT band is useless because it is not a muscle.
You need to keep rolling on the quads because it’s connected to the IT band (even though the sore spot isnt there)…to release the muscle.
Hope this helps!
Thanks for the tip Sheila!